


A basement wall vapor barrier slows water vapor moving from a concrete foundation into your finished basement. For most homes, the best choice is rigid foam board or closed-cell spray foam installed tight against the concrete, not a sheet of polyethylene stapled behind drywall, because plastic on the inside of a basement wall can trap moisture and grow mold. Fix any liquid water problem first, since no vapor barrier can stop leaks.
That short answer covers the decision most homeowners face. The rest of this guide explains how moisture moves through basement walls, how vapor barriers differ from vapor retarders, which materials suit which situations, how to install rigid foam step by step and which mistakes cause the most expensive callbacks.
Basement wall vapor barriers at a glance
| Topic | What to know |
|---|---|
| Purpose | Slow water vapor from the concrete and keep humid indoor air away from cold wall surfaces |
| Preferred approach | Rigid foam board or closed-cell spray foam in direct contact with the concrete |
| Use with caution | Polyethylene sheeting on the interior of a finished basement wall |
| Do first | Fix leaks, gutters, grading and cracks; vapor control cannot stop liquid water |
| Avoid | Fiberglass batts pressed against bare concrete; two vapor barriers with a wall cavity between them |
| Helpful extras | Dehumidifier, sump pump where needed, moisture-resistant drywall kept off the floor |
| Rules | Vapor retarder requirements vary by climate zone and local code; check with your building department |
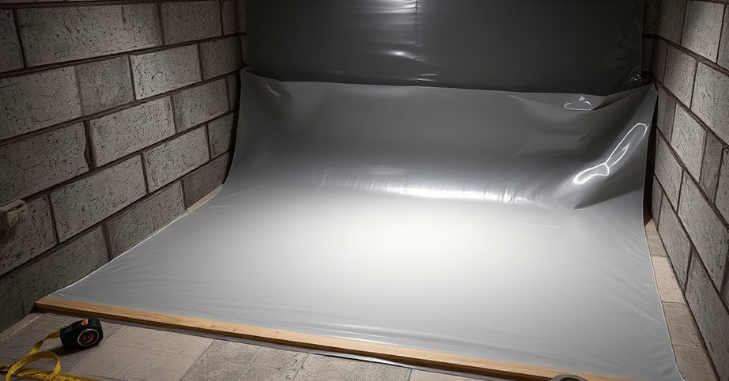
How moisture gets into basement walls
Concrete looks solid, but it is porous. Ground moisture wicks up and through foundation walls and slabs by capillary action, even when the surface looks dry. Soil next to a foundation stays damp most of the year, so the wall is constantly supplying a small amount of water vapor to the room side.
The second source works in the opposite direction. In summer, warm, humid outdoor air leaks into the basement or is carried down by the air handler. When that air touches concrete that is cooled by the surrounding soil, it can reach its dew point and condense. This is why many basements feel damper in July than in January, and why sweating walls are not always a sign of a leak.
A third source is liquid water: rain and snowmelt that reach the foundation because of poor grading, overflowing gutters, short downspouts or cracks. Liquid water moves far more moisture than vapor diffusion ever will, which is why drainage always comes before vapor control.
Common causes of basement moisture include:
- Gutters and downspouts dumping water next to the foundation
- Soil that slopes toward the house instead of away from it
- Cracks in the foundation or gaps around pipe penetrations
- High indoor humidity from laundry, showers, unvented dryers or poor ventilation
- No exterior damp-proofing or drainage around older foundations
Left unchecked, that moisture feeds mold, rots wood framing, ruins insulation and creates the musty smell many basements are known for.
Vapor barrier vs vapor retarder: the terms explained
US building codes classify materials by how easily water vapor passes through them, measured in perms. The lower the number, the tighter the material.
| Class | Permeance | Examples |
|---|---|---|
| Class I (vapor barrier) | 0.1 perm or less | Polyethylene sheeting, foil facings |
| Class II (vapor retarder) | Over 0.1 up to 1.0 perm | Kraft facing, some thicker foam boards, closed-cell spray foam at typical thickness |
| Class III (vapor retarder) | Over 1.0 up to 10 perm | Latex paint, thinner foam boards |
People say “vapor barrier” for all of these, but the difference matters. A basement wall can get wet from both sides depending on the season, so the assembly needs to control vapor while still being able to dry in at least one direction. A Class I layer on the room side removes the inward drying path, which is exactly what causes trouble with interior poly.
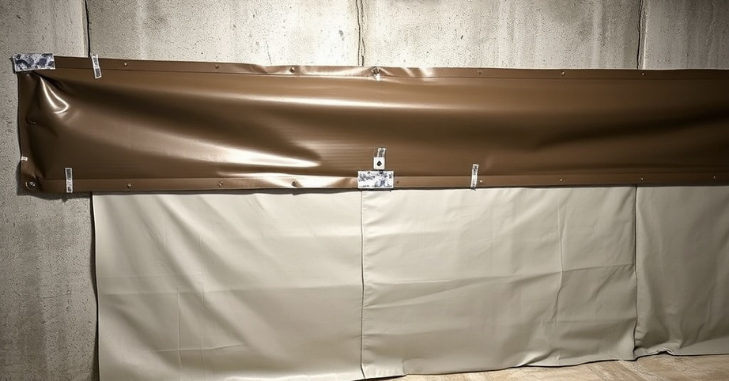
Why plastic sheeting behind drywall often fails
The traditional method was to build a stud wall, fill it with fiberglass batts and staple polyethylene over the inside before hanging drywall. On paper it looks tidy. In practice, moisture from the concrete migrates into the fiberglass, and in summer humid air can slip around the plastic and reach the cold concrete. The plastic then stops that moisture from drying to the room.
Contractors who open these walls during remodels regularly find damp insulation, stained framing and mold on the concrete side of the plastic. For that reason, many building scientists and some local codes now discourage interior poly on basement walls. The model residential code also exempts basement walls from its general interior vapor retarder requirement, although local amendments can differ, so always confirm with your building department.
Types of basement wall vapor control
1. Rigid foam board
Extruded polystyrene (XPS), expanded polystyrene (EPS) or foil-faced polyisocyanurate is glued or fastened directly to the concrete, with seams taped and edges sealed. The foam keeps the interior surface warm enough that condensation cannot form, and it controls vapor without a separate plastic layer. A stud wall goes in front, with or without extra unfaced insulation in the cavity. This is the most DIY-friendly approach and the one most energy guides describe first.
2. Closed-cell spray foam
Sprayed directly onto the concrete, closed-cell foam fills irregular surfaces, seals air gaps around rim joists and pipes, and acts as a vapor retarder at typical thicknesses. It performs very well but costs more and needs a trained installer with the right equipment and ventilation. Open-cell spray foam is not suitable against basement concrete because it absorbs and holds moisture.
3. Dimpled membranes and wall panels
Some interior systems use a dimpled plastic membrane against the wall that channels any seepage down to an interior drain and sump. These are part of a waterproofing system rather than a simple vapor barrier, and they are usually installed by basement waterproofing contractors alongside a perimeter drain.
4. Polyethylene sheeting
Six-mil or thicker poly still has good uses: under concrete slabs, on crawl space floors and as a temporary cover during construction. On basement walls, use it only if your local code specifically calls for it and a designer has confirmed it suits your climate and wall assembly.
5. Sealers and waterproof paints
Masonry sealers and waterproofing paints can reduce dampness on unfinished walls. They are not a substitute for insulation or drainage, they can peel if water pushes from behind, and they often need reapplying over time.

How to choose the right option for your basement
Use these questions to narrow the choice before you buy materials:
- **Is there any liquid water?** If you see puddles, drips or water lines after rain, start with drainage, crack repair or an interior drainage system. Vapor control comes later.
- **Are you finishing the space?** For an unfinished storage basement, a sealer plus a dehumidifier may be enough. For living space, use foam against the wall.
- **How flat is the wall?** Rubble stone or very uneven block walls are easier to cover with spray foam than with rigid boards.
- **What is your budget and skill level?** Rigid foam is the best fit for careful DIYers; spray foam and drainage membranes are professional jobs.
- **What does local code require?** Ask about minimum insulation levels, vapor retarder rules and fire protection over foam before you start.
Rough cost comparison
Prices vary by region, wall height and product, so treat this only as a guide to relative cost and get local quotes.
| Option | Relative cost | DIY friendly? |
|---|---|---|
| Masonry sealer | Low | Yes |
| Rigid foam board | Moderate | Yes, with care over sealing |
| Closed-cell spray foam | High | No, professional install |
| Interior drainage membrane system | High | Usually professional |
Step-by-step: installing rigid foam on basement walls
- Fix water problems first. Clean gutters, extend downspouts several feet from the house, regrade soil away from the foundation and repair cracks with an appropriate patching product.
- Test the wall. Tape a square of plastic to the concrete for a day or two. Moisture under the plastic suggests water coming through the wall; moisture on top points to indoor humidity.
- Clean and dry the surface. Remove efflorescence, loose paint and any mold, and let the wall dry fully.
- Attach the foam. Use foam-compatible adhesive or mechanical fasteners, keeping boards tight together and in full contact with the wall so no air can circulate behind them.
- Seal every joint. Tape seams and seal the top and bottom edges with canned foam or sealant so humid air cannot get behind the boards.
- Frame and finish. Build a stud wall in front, using pressure-treated wood or a sill gasket on the bottom plate. Keep drywall slightly off the floor and consider moisture and mold-resistant board.
- Protect the foam. Most foam insulation must be covered by a fire-rated finish such as drywall. Check the product label and your local code.
- Control humidity. Run a dehumidifier and aim to keep relative humidity roughly in the 30 to 50 percent range.
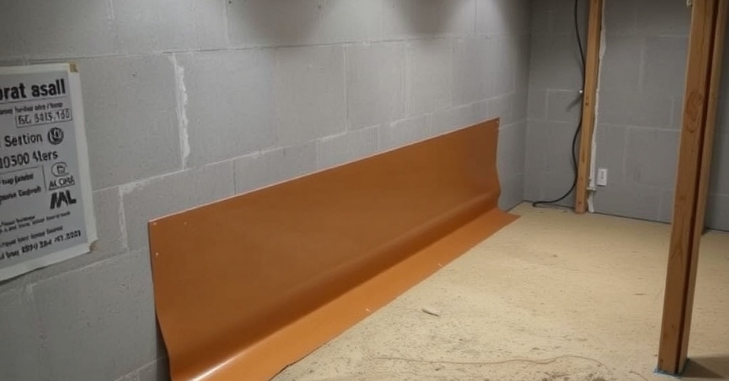
Don’t forget the rim joist and the floor
The band of framing that sits on top of the foundation, the rim joist, is one of the leakiest and most condensation-prone spots in a basement. Cut pieces of rigid foam to fit each joist bay and seal the edges with canned foam, or have it sprayed with closed-cell foam at the same time as the walls. Leaving it bare puts cold, damp wood right next to your new insulated wall.
The slab matters too. If you plan to add flooring, choose materials that tolerate occasional moisture, such as vinyl plank or tile, or use a dimpled subfloor panel. Avoid laying carpet with a padded underlay straight on bare concrete in a basement that has ever been damp.
Common mistakes to avoid
- Fiberglass against bare concrete: it holds moisture against the wall and supports mold.
- Double vapor barriers: foil-faced foam plus poly on the studs traps any moisture that gets between them.
- Unsealed seams and edges: air leaks carry far more moisture than diffusion through the material itself.
- Ignoring drainage: no barrier will stop bulk water from a leaking wall.
- Covering existing mold: clean it and fix the source before finishing the wall.
- Skipping the dehumidifier: a well-built wall still needs sensible indoor humidity to stay dry.
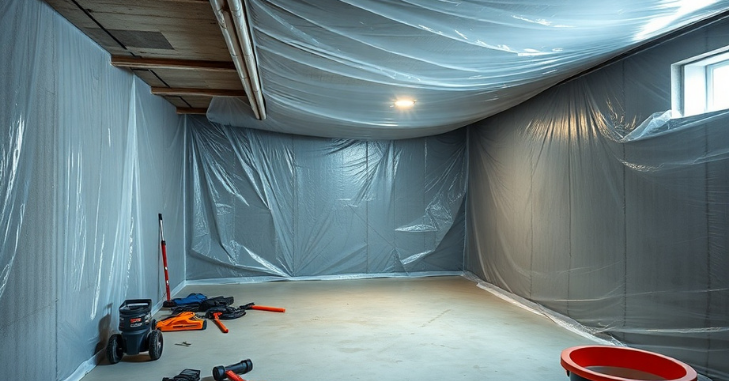
Signs your basement needs moisture control
- Persistent musty odors
- Peeling paint or bubbling drywall
- Mold or mildew on walls, furniture or stored boxes
- Condensation on walls, cold water pipes or windows
- Efflorescence, the white powdery residue on concrete
Homes with a crawl space face similar issues; our guide to crawl space waterproofing costs explains encapsulation and vapor barriers for that part of the house.

When to hire a professional
Call a basement waterproofing contractor or structural professional if you see active leaks, standing water, widening or horizontal cracks, bowing walls or widespread mold. These point to drainage or structural problems that a vapor barrier will not solve. A professional is also worth it for spray foam or interior drainage systems, where poor installation is hard to undo.
If you are finishing the basement as part of a bigger remodel, our article on what homeowners waste money on during renovation projects has useful budgeting lessons.

Bottom Line
Treat basement moisture in order: stop liquid water outside, test the wall, then insulate with rigid foam or closed-cell spray foam sealed tight to the concrete, and finish with drywall and a dehumidifier. Skip interior plastic sheeting unless your local code or designer specifically requires it.
Frequently Asked Questions
Do basement walls need a vapor barrier?
Finished basement walls need vapor and moisture control, but the best approach is usually rigid foam or closed-cell spray foam against the concrete rather than plastic sheeting. Check your local code, since requirements vary by climate zone.
Should I put plastic sheeting on basement walls?
Generally no. Polyethylene on the interior of a basement wall can trap moisture from the concrete inside the wall cavity and cause mold. Use it only if your local code or designer specifically calls for it.
What is the best insulation for basement walls?
Rigid foam board or closed-cell spray foam applied directly to the concrete are widely recommended. They resist moisture, prevent condensation on the cold wall and do not rely on a separate plastic layer.
Can a vapor barrier stop a wet basement?
No. Vapor barriers control water vapor, not liquid water. Leaks and seepage need drainage fixes, crack repair or a waterproofing system first.
What humidity should a basement be kept at?
Keeping relative humidity roughly between 30 and 50 percent, often with a dehumidifier, helps prevent mold and condensation. A cheap hygrometer lets you check the level through the seasons.
Do I need to insulate the rim joist too?
Yes. The rim joist is a common source of air leaks and condensation. Sealed rigid foam pieces or closed-cell spray foam in each joist bay are the usual fix.